Wednesday, December 31, 2014

Happy Holidays!

Happy Holidays!  December is usually busy for our family.  And this year was no exception!  The one difference this year was that we were not traveling over the holidays.  This year we decided to stay home and perhaps make some holiday family traditions of our own.

Since we were staying home, I planned multiple projects to keep me busy!

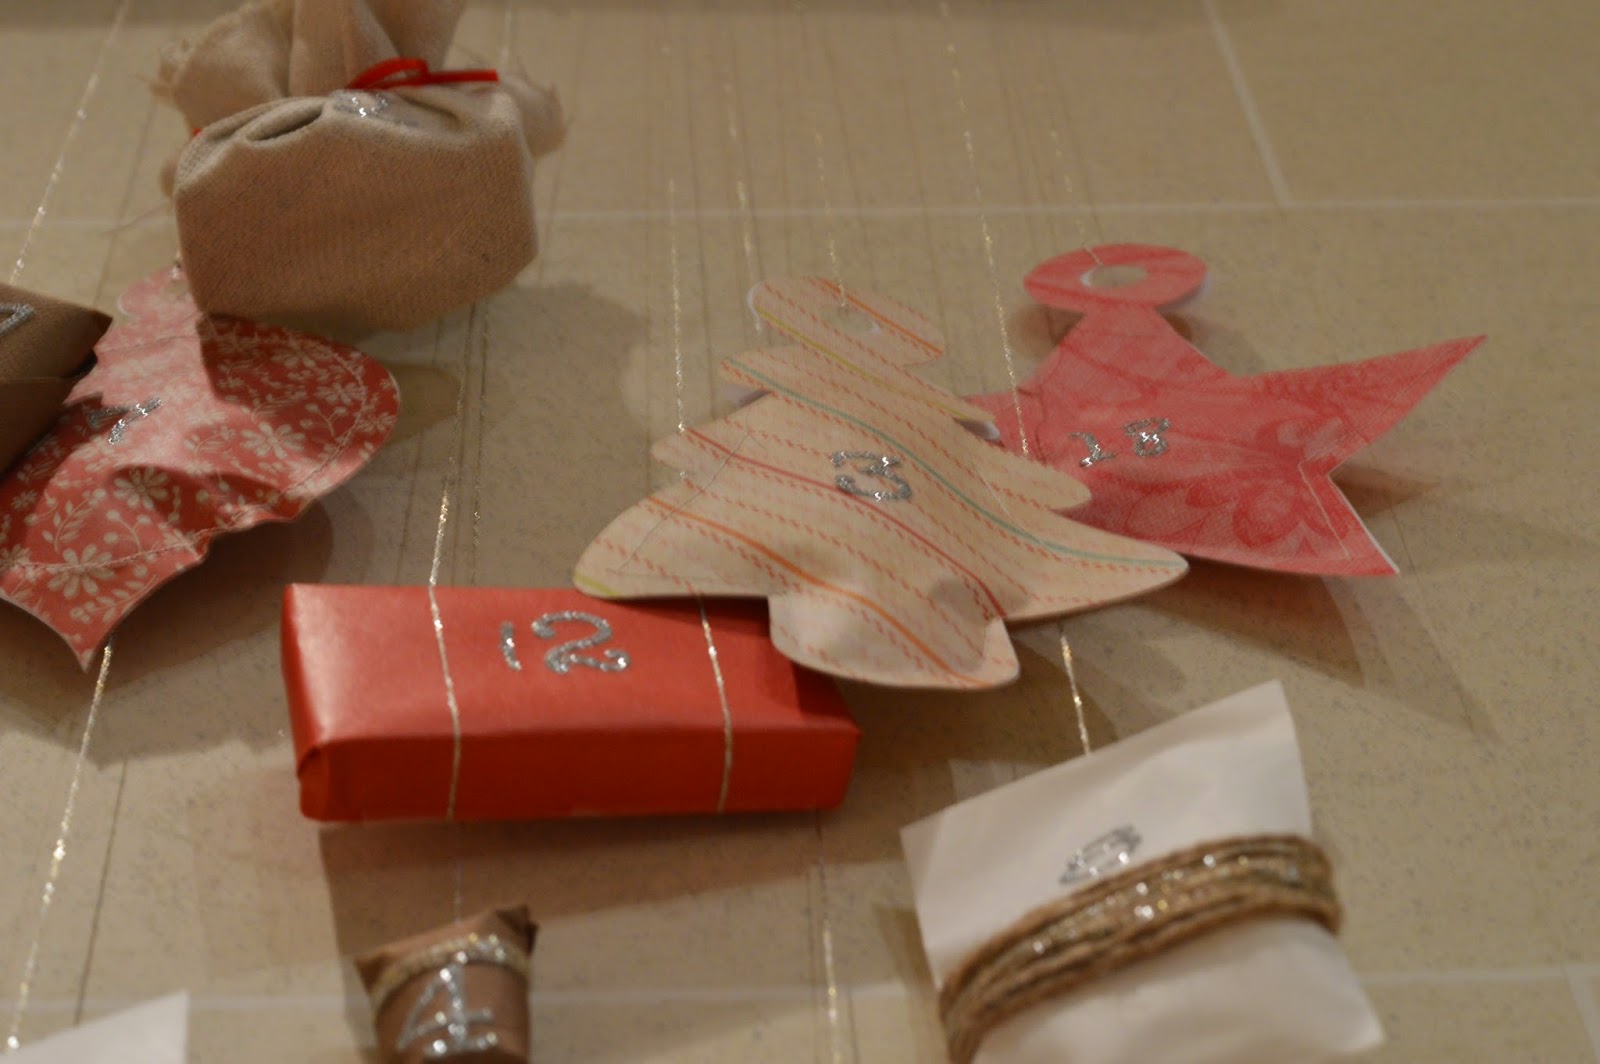
The first was an advent calendar for my son.  I loved the idea of using driftwood in my holiday decor this year because it is so easy to find around where we live, so this advent calendar was perfect!


My son had so much fun opening his little presents every day before Christmas.

Another holiday decor project that I took on was this beauty!

I used old fence boards that I found beside our house and simply nailed them onto two pieces of wood.  I used chalk to mark out the corner points for the tree and screwed in dark screws at these points.  Then I traced the shape with a roll of red satin ribbon and tied it in a bow at the top!  I love the contrast between the pretty ribbon and the rustic look of the fence boards.

I used some more driftwood to hang these paper ornaments that I found at IKEA, which has a pretty mobile look to it.


In the fall on one of our nature walks down by the water, I found these two log-shaped pieces of driftwood that I had originally planned to use as center pieces on our dining room table.  I took them home and dried them out in the sun for days, and then one day I picked one up and all of these tiny little worms were underneath of it!  That is exactly when I decided that unfortunately, these two pieces of wood were NOT entering my house...especially the table that we eat on!  So, I drilled holes for candles as I had planned, but leave them outside for some outdoor holiday ambiance.


I had a few kiddos that I wanted to get Christmas gifts for this year and I decided to make them each something that they could use all season long and for seasons to come.  They each got a cozy, cuddly holiday pillowcase!  Since I am a complete novice when it comes to sewing, I found a tutorial on-line that I followed to help me make these.
I hope the little ones enjoy these!


I wish you and your family a holiday season filled with love, laughter and tons of snuggles.
Jackie
xoxo

Tuesday, October 14, 2014

Nautical Second Birthday Party

Our little boy turned two recently and I had so much fun planning his birthday party!  He loves going to the water by our house and watching the boats, so I decided to go with a nautical theme.  I took a little bit of a risk and planned his party in a park near our home and right next to the water.  I felt like this was the perfect venue for his party because it fit with the theme perfectly, but also because he loves being outside and this way clean up would be way easier for me!  We lucked out and the day was absolutely perfect!    


I made these cute little sail boats with my Silhouette and the nautical plates were party favors that the kids could take with them.  I also ordered some sailor hats online for the kids, but they were kind of a bust.  None of the kids were really into them.  Bummer because they were really cute!


Lunch consisted of a variety of cold cuts and bread, so that people could make their own gourmet sandwiches or the kids could snack on whatever they liked.  There were also mini homemade chocolate chip cookies and each kid was given a bag of these at the end of the party.  I decided against making a birthday cake or cupcakes, since my son really doesn't like cake.  He loves chocolate and cookies.  So, in addition to the cookies I cut out little whale brownies.  They were super cute and easy!


Even though the party was outside and running around a park is probably sufficient to keep two year olds happy...I wanted to be sure that they had a couple of activities to keep them busy.  I made a bean bag toss out of a box and the bean bags I made out of some scrap indoor/outdoor fabric and filled them with split peas.  I also bought a bowling set.  Both of these were a hit with the kids!


Happy birthday little man!


Monday, October 13, 2014

So much to be thankful for...

Happy Thanksgiving everyone!


I love this time of the year.  The colors of orange, yellow, brown, gold and red surround us.  Candlelight, the smell of leather, spices, comfy sweaters and cozy blankets...these are all my favorite things.  The weather is perfect, the food is delicious...I can't get enough pumpkin!  The grocery store that I shop at currently stocks pumpkin everything!  They even have pumpkin croutons...they're amazing.  My goal is to try everything on their pumpkin list.


We are taking full advantage of fall this year, as it may very well be our last fall here.  So, aside from producing all sorts of mouthwatering smells from the kitchen, we've also stocked up on a bunch of pumpkins to decorate our home.


My son and I created our very own "Thankful Tree" yesterday as well.  We collected a bunch of crazy driftwood branches by the water yesterday morning and although it was a little bit difficult explaining the concept of what it means to be thankful to a two year old, we managed to create a good list of things that we are thankful for.


I wish everyone a wonderful fall and hope that you are able to spend it with the ones that you love most.

~Jackie

Wednesday, September 17, 2014

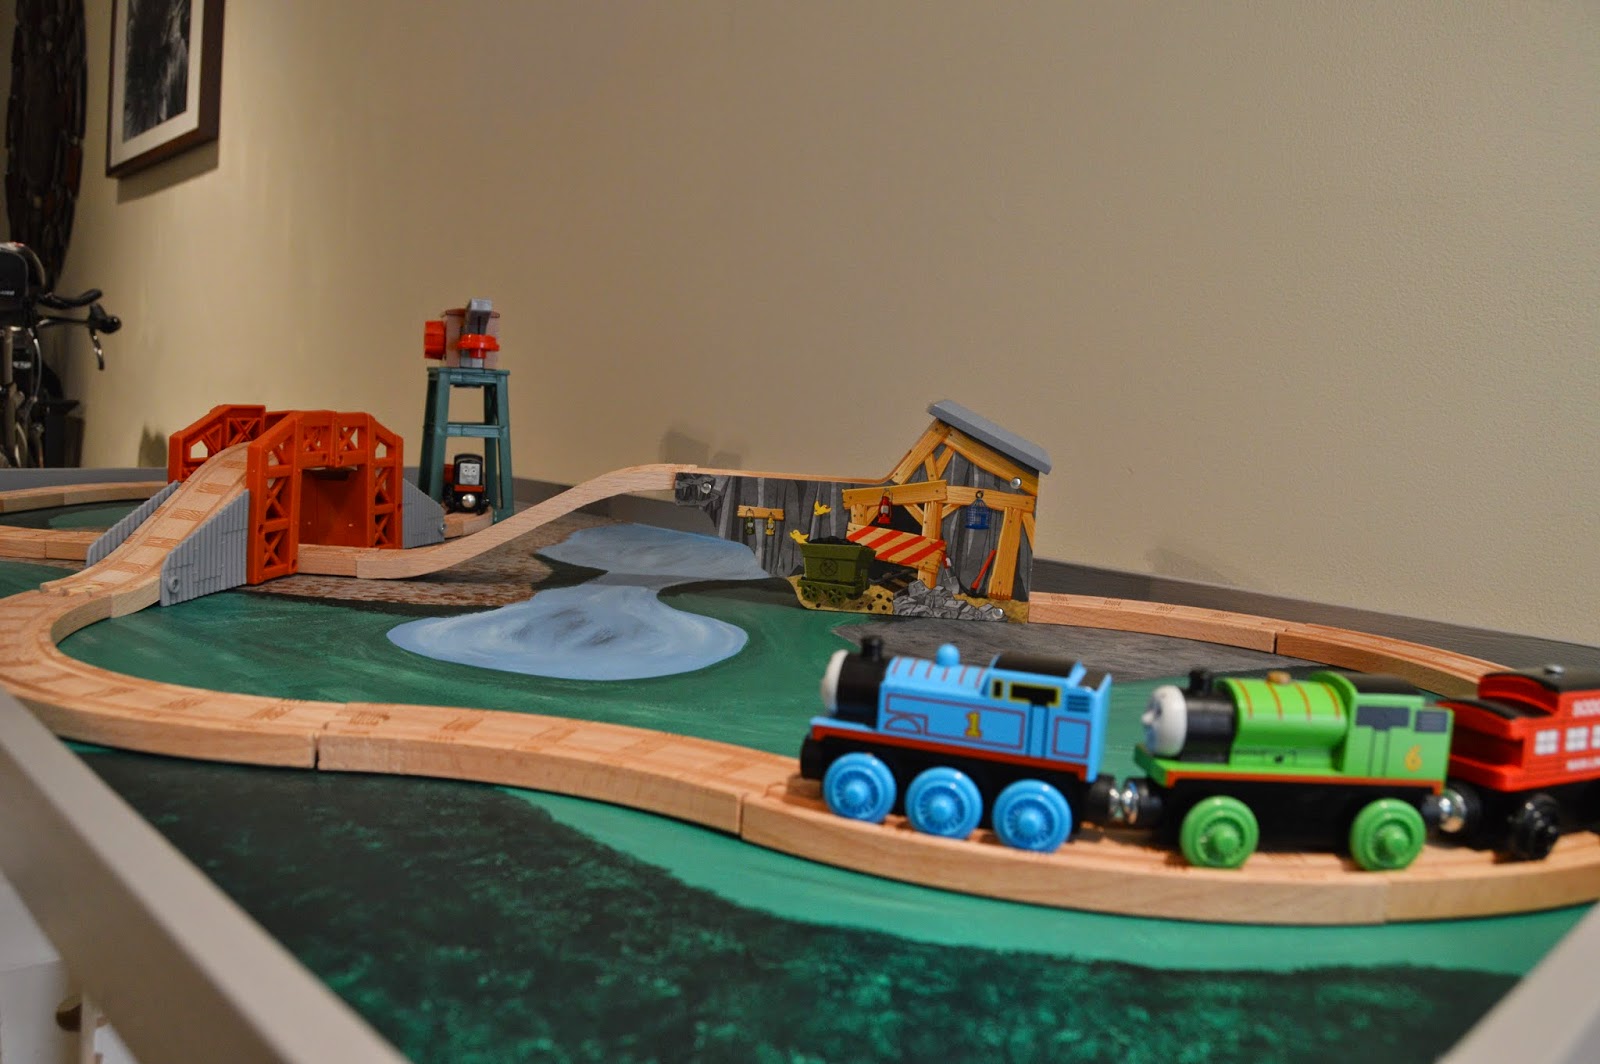
Train Table Top - DIY


My little boy's birthday is coming up and after watching him play with the trains in the toy stores and realizing his fascination with trains, I decided to build him a train table.  I figured since I already built him a table and I don't have space for multiple tables hanging around our house, I could just build another top that can sit on the existing table, or on the floor, or I can tuck it under a bed or the couch for easy storage.

I started with the exact same 4' x 2' piece of birch that I used for his craft table and bought four 1" trim pieces that were each 4 feet long.  I cut the pieces to size and attached the trim with finishing nails and then sanded the whole thing.  I gave it one coat of primer and then painted the edges grey and used a mixture of acrylic paint and sample paints that I had kicking around to paint the "scenery".


I also bought a piece of felt from the fabric store, cut it to the size of the board and hot glued it to the underside of the train table top.  This will prevent the table top from scratching...anything!

I have to admit, I was SO excited to give this to my little boy...we ended up giving it to him a week early!  He loves it!  He was so serious when he saw it for the first time, but he immediately went up to the table and started playing with the trains.  He stayed there for the entire morning!  I love watching him play and this table allows him to use his big imagination that is blossoming beautifully!  I recently started seeing animals in the grass next to the trains...it just kind of makes my heart smile.

Enjoy!

~Jackie


Friday, August 15, 2014

Sentimental Wood Art - DIY


This year my husband and I celebrated our 5th wedding anniversary.  I wanted to make him something special instead of buying him something, because I don't know if all husbands are difficult to buy for, but mine is for sure!  Also, when I sat back and thought about it...holy smokes, we've been married for five years already!  Time flies when you're having a good time, right hunny?  I started thinking about our wedding day and how important it was to both of us - the promises we made to each other.  I wanted to resurface those promises...dust them off and display them in a beautiful way that we both would appreciate and be able to look upon whenever and more often.  Because surely there are times when we should step back from the chaos of life and remind ourselves of what is important.

So, I wandered over to my favorite scrap pile/junk yard/building materials thrift store and found a cool looking piece of reclaimed Mississippi Pecan wood.  They often have some cool reclaimed wood there that are on consignment from a local wood shop.  It's not always cheap...beautiful wood usually isn't.  But I needed a pretty small piece, so mine was $35.  And I CANNOT believe I forgot to take a picture of the piece of wood before I started working on it!!  It was pretty, but nothing like it turned out to look after I worked on it for hours!  I could tell that the wood had a beautiful color to it, but there was some mold or mildew or something gross and weird that wood gets probably when exposed to water.  The guy at the counter told me that it will just "sand out"....mmmhmmm...so, that is easier said than done!

After I bought the piece of wood, I went out and bought a palm sander.  It was an awesome birthday present from my favorite mother-in-law!  xoxo.  Then when I put my son down for a nap one afternoon, I scooted outside to just "sand it out".  2 hours later, in the same position, moving that sander back and forth, back and forth, with the grain of the wood...I could still see the mildew.  So, since I felt crippled and was super hot by that point, and my son doesn't nap for nearly enough hours in the afternoon ;), I took a break and continued to sand all that yuckiness out another day.  My new sander sure got a workout!  So did I!

After the sanding, I stained it using a Minwax natural stain.  I didn't want to change anything about how beautiful the wood naturally looked.  This stain basically, enhanced the wood's natural beauty.  Kind of like what mascara does for me every morning!  After the staining process (I gave it two coats), I moved on to three coats of a Minwax semi-gloss polyurethane.  What a high maintenance chunk of wood!  Did you know that you have to sand between each coat of polyurethane?!  I didn't.  Once it was finished, it was gorgeous though.


Here's a shot of my new work space...yeah, a garage one day would be nice.  :)
 

The last step was to cut out the wording that I used from our wedding vows in white vinyl and apply them to the wood.  This step sounds easy peasy, but it was a lot more difficult than I thought it would be!  The vinyl letters were giving me trouble and I ended up having to buy a new blade, and running out of vinyl...then since I was laying the words down on the wood one by one, due to the length of the wood, I had to make sure each word was placed as straight as possible on the wood, without sticking it down first.  Tricky.

So, here it is, "ta da!"


And I had no idea that the suggested gift for year five of marriage is wood!  BONUS!!  I get diamonds, he gets wood.  Sounds appropriate.  ;)

Yes, it was a week late, but it's kind of pretty, hey?  And it means a lot to both of us.
Love you hunny! xoxo

Little Boy Nautical Bathroom

Let me start by saying that I love my son's bathroom.  It has a beautiful cast iron claw foot tub, awesome wainscoting, it's small but big on character in my opinion.  It even has a sky light!  A person could decorate this bathroom many different ways, but since we mainly use it to bathe my son and brush his teeth, I figured I would make it a little bit more fun for him!  I had a great time decorating this bathroom because it allowed me to work on many little projects.

Here is the before:


And here is the after:


Way more fun!


Sunday, August 3, 2014

DIY Painted Oar

No nautical bathroom is complete without an oar, right?  Right.  That is exactly what I told my husband when we were on vacation in Florida this year, and I found this baby in a pretty awesome antique store that I dragged my husband into.  It was only $22 and the perfect size, so I had to have it.    I had seen oars on the Pottery Barn Kids website for $39, so this was a better deal.  And more fun.

Of course, my husband tried to convince me otherwise, saying that it wouldn't fit into our suitcase, and questioning how I was going to get it home..."it will fit!", I told him.  It didn't fit.  But I didn't stress about it.  I figured it was small enough that I could put it into our carry on bag and just have the handle stick out, no biggie.  Apparently, the security people at the airports might think it is a bit more of a big deal, however.  They took it from me, asked a few people and after what felt like forever, handed it back to me and said "I guess it's okay".  I don't know if they were concerned about its size or if they thought that it could be used as a weapon...which makes me chuckle a little thinking about a mom with a baby in a stroller using a small wooden oar as a weapon.  Right...

Anyway, the oar made it home!  I primed it.  Taped it off and painted it.  And it looks marvelous hunny!  

xo

Before:
After: