Saturday, August 15, 2015

A Reflection on Life and Love...

Alright, so I understand that it has been eight months since my last blog post...I feel the need to lay out all of my excuses, but I never professed to be a great blogger anyway!  So much has happened in the last eight months.  First thing: I grew a little person in my tummy.  No biggie.  Well, truthfully, she is still in there and we are anxiously awaiting her arrival, which could be any day now!  On top of being pregnant with a toddler running around me, we also moved to Texas.  I like challenges, but come on!!

So, life has been challenging, but it has also been great.  The best part of this blog for me is that I am able to reflect on everything and it helps me really put things into perspective.  For instance, being 38 weeks pregnant isn't exactly the most fun I've had and I was feeling that today in a big way.  But sitting here in front of this keyboard I realize just how blessed I am.  I have a family who I love with my whole heart.  We have so much fun and share so much love for each other.  We have experienced a lot and have had many adventures already, all of which make us stronger both as individuals, but also as a family.

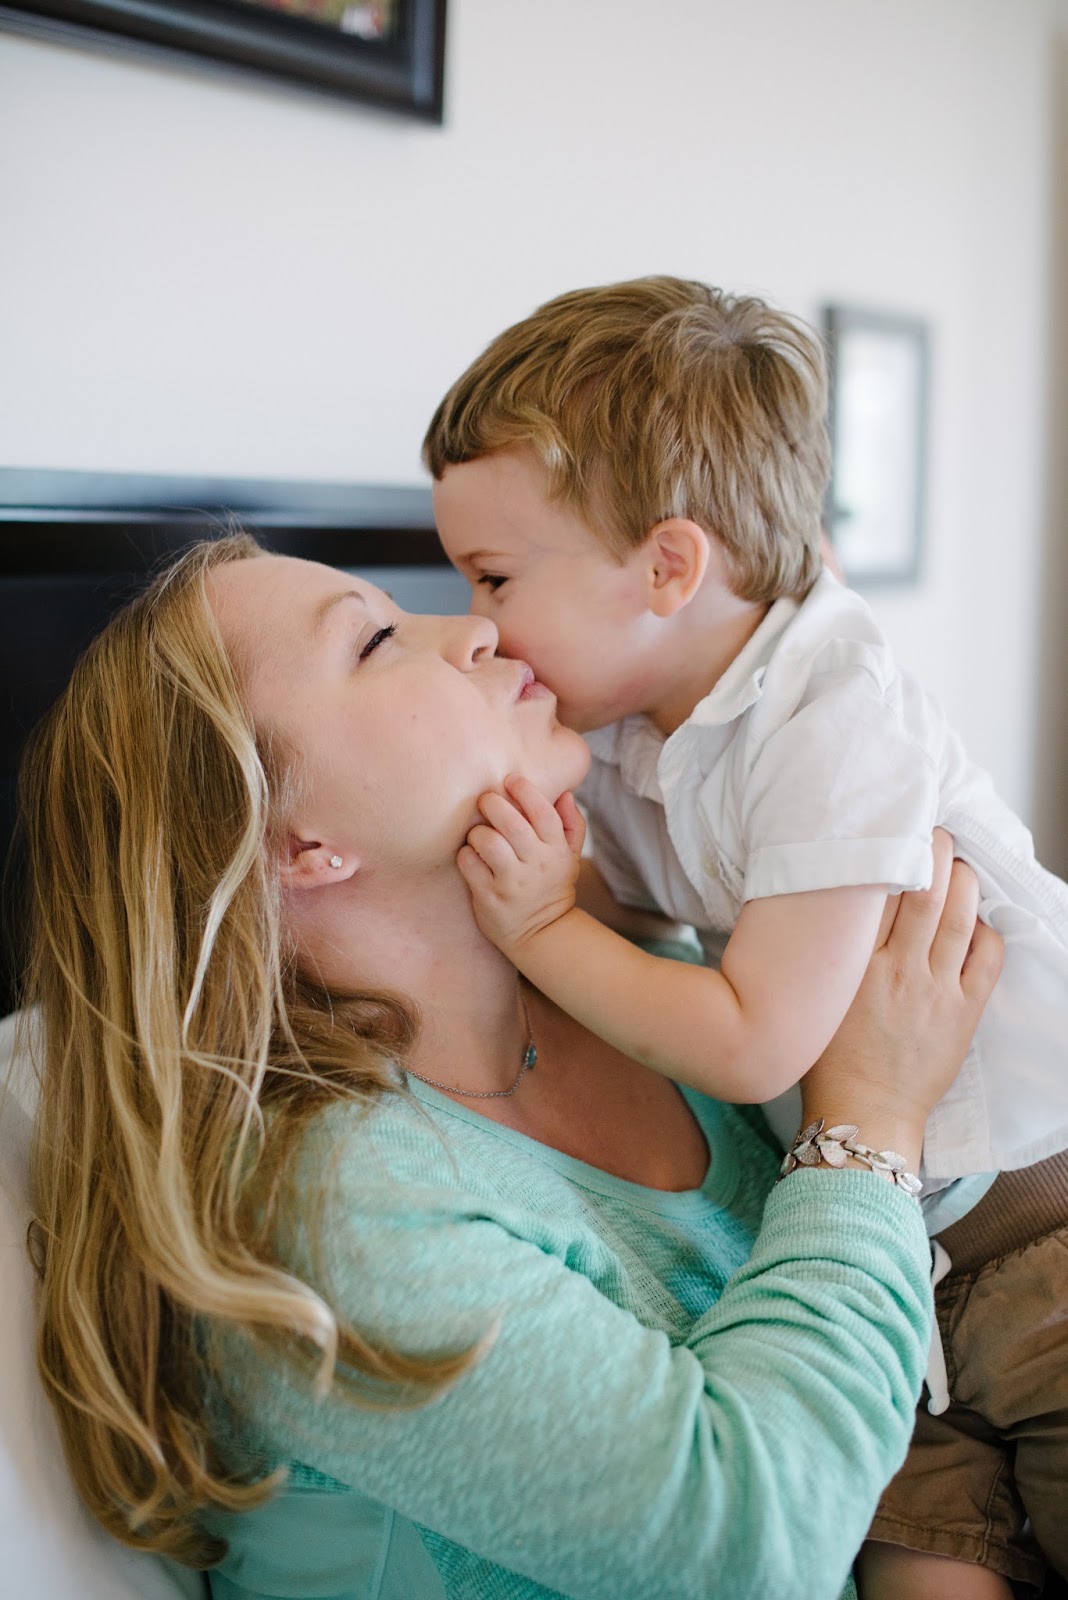
Recently, we had a family photo shoot and I think Jenny, our photographer did a great job of capturing the love in our family and our anticipation of the newest member of our family.  I will cherish these memories forever.

 Love.
xoxo

Jackie


Friday, January 16, 2015

Key Lime Pie Smoothie

We drink a lot of smoothies in our home.  Since we invested in the Vitamix blender, smoothies have been a great way to incorporate a lot of fresh fruits and veggies into our diets.  It is also a perfect snack for a toddler!  I will admit, I don't usually follow recipes to make my smoothies.  I just throw a little bit of this and a little bit of that in the blender and it usually turns out pretty great.  There are some "rules", however with smoothie making that one might wish to follow.

-If you put spinach in your smoothies, as I very often do, adding strawberries to your fruit and spinach combo usually results in a brownish colored smoothie.  The taste could be great, but sometimes I have a hard time swallowing a brown smoothie.  But maybe you have an opaque smoothie cup with a lid...then I suppose there's no issue!

-Think of a flavor profile when making a smoothie.  It's just like cooking.  If you want a citrus flavored smoothie, stick to citrus fruits.  A berry smoothie, maybe don't add too much citrus to it. Etc. My husband likes to literally throw anything and everything in the blender and press go...it doesn't always turn out to be the most appetizing experience!

-Don't blend beets into your smoothies.  I'm sure it works for some and people definitely do it.  But we added a cooked, peeled beet to a smoothie once (granted, it was one of my husband's everything but the kitchen sink smoothie)...the texture was so gross I don't know if I will ever forget it!

Today I made a mid morning smoothie for me and my son and it turned out so delicious I just had to share the "recipe".  I can't wait to make this smoothie in the summer time because it was just so refreshing!

Key Lime pie Smoothie

1 Banana
1 Orange, peeled
1/2 cup Frozen Pineapple
1/4 cup Spinach
2 wedges of Lime (one with the peel on and one I cut the peel off)
1/4 cup Vanilla Yogurt
A splash of milk (probably around 1/3 cup)
Ice

Blend and Enjoy!

Makes 2 smoothies
This smoothie was so yummy I drank most of it before I realized I should take a picture!

My son insisted that I take a picture of his cup too. ;)

Monday, January 5, 2015

Handmade Play Kitchen


Here it is!  The project that I have been working on for SO LONG!  It was my son's Christmas gift and I wanted to get a jump start on it, so I think I began this journey in August.  No joke.  Yes, it took me that long to build this thing.  To be fair, I do most of my projects when my son is in bed and his naps became way to short and not conducive to getting pretty much anything done.  Another reason that it took me so long to build this was because I started on one path and diverged onto another path part way in.  Let me explain...

I started with the idea that I would transform an old cabinet into a play kitchen.  So, I bought this cabinet for $2 at the hardware thrift shop that I like to explore.

I build a base for the cabinet to sit on, to mimic a little kick plate, but also so that the cabinet was raised off the floor a bit, so the doors could open easier, etc.  Then I realized the cabinet is too high, so I figured I would just slice it down a little with my jig saw...what. was. I. thinking?!  Don't do that. Ever.  It didn't work.  It didn't matter how careful I was, I didn't cut it straight and then putting a countertop on the top wouldn't work, etc, etc, etc.  One positive that came out of this disaster, was that I realized the cabinet that I bought was kind of cheap.  It was wobbly and made of some kind of particle board and the back panel was chipping...so, I scrapped that idea altogether and decided to make the entire thing from scratch!  (Cue Superhero music).  I figured it would be a lot more sturdy, last a lot longer and the overall quality would just be better.  Plus, I would learn so much by doing it all myself.  Yep.  So much.

Lesson #1: The hardware that comes in the package with hinges and handles are basically made of plastic.  Don't use them.  Buy your own screws.

Lesson #2: Hinges suck.  They are harder than you think.  Plus, installing hinges by yourself is very difficult...especially with "plastic" screws.

Lesson #3: Don't pre cut all of your wood.  Cut as you go along.  Because you could, for some unexpected reason cut something, like, say the countertop, too small.  And then you will have to work some pretty creative magic to fix that.

Lesson #4: Glossy paint dries rubbery and will knick very easily.  Not a good idea for a play kitchen!

Lesson #5: Consider buying a play kitchen...


I didn't take step-by-step photos and cannot really explain how this bad boy came together. But the important part is that it did.  And I think it is pretty great.  Most importantly though, my son thinks this kitchen is awesome and has been playing with it non-stop since he got it!


Some project notes:
The cabinet door and oven door were old cabinet doors made of cherry hardwood.
The Countertop is also a piece of cherry wood that I scored at my hardware thrift store for $8.
I predominately used my Kreg Jig to drill pocket holes and put the kitchen together.
The faucet I found on ebay for $17.  It was listed as a chrome bar faucet, but worked perfectly for this play kitchen!
I used an LED tap light for the oven...because an oven needs an oven light!
The oven rack is actually a drain rack that fits in the bottom of a sink.  I bought this at Target.
The stove burners are cork coasters that I also found at Target.  I simply painted them and glued them on with wood glue.
Wednesday, December 31, 2014

Happy Holidays!

Happy Holidays!  December is usually busy for our family.  And this year was no exception!  The one difference this year was that we were not traveling over the holidays.  This year we decided to stay home and perhaps make some holiday family traditions of our own.

Since we were staying home, I planned multiple projects to keep me busy!

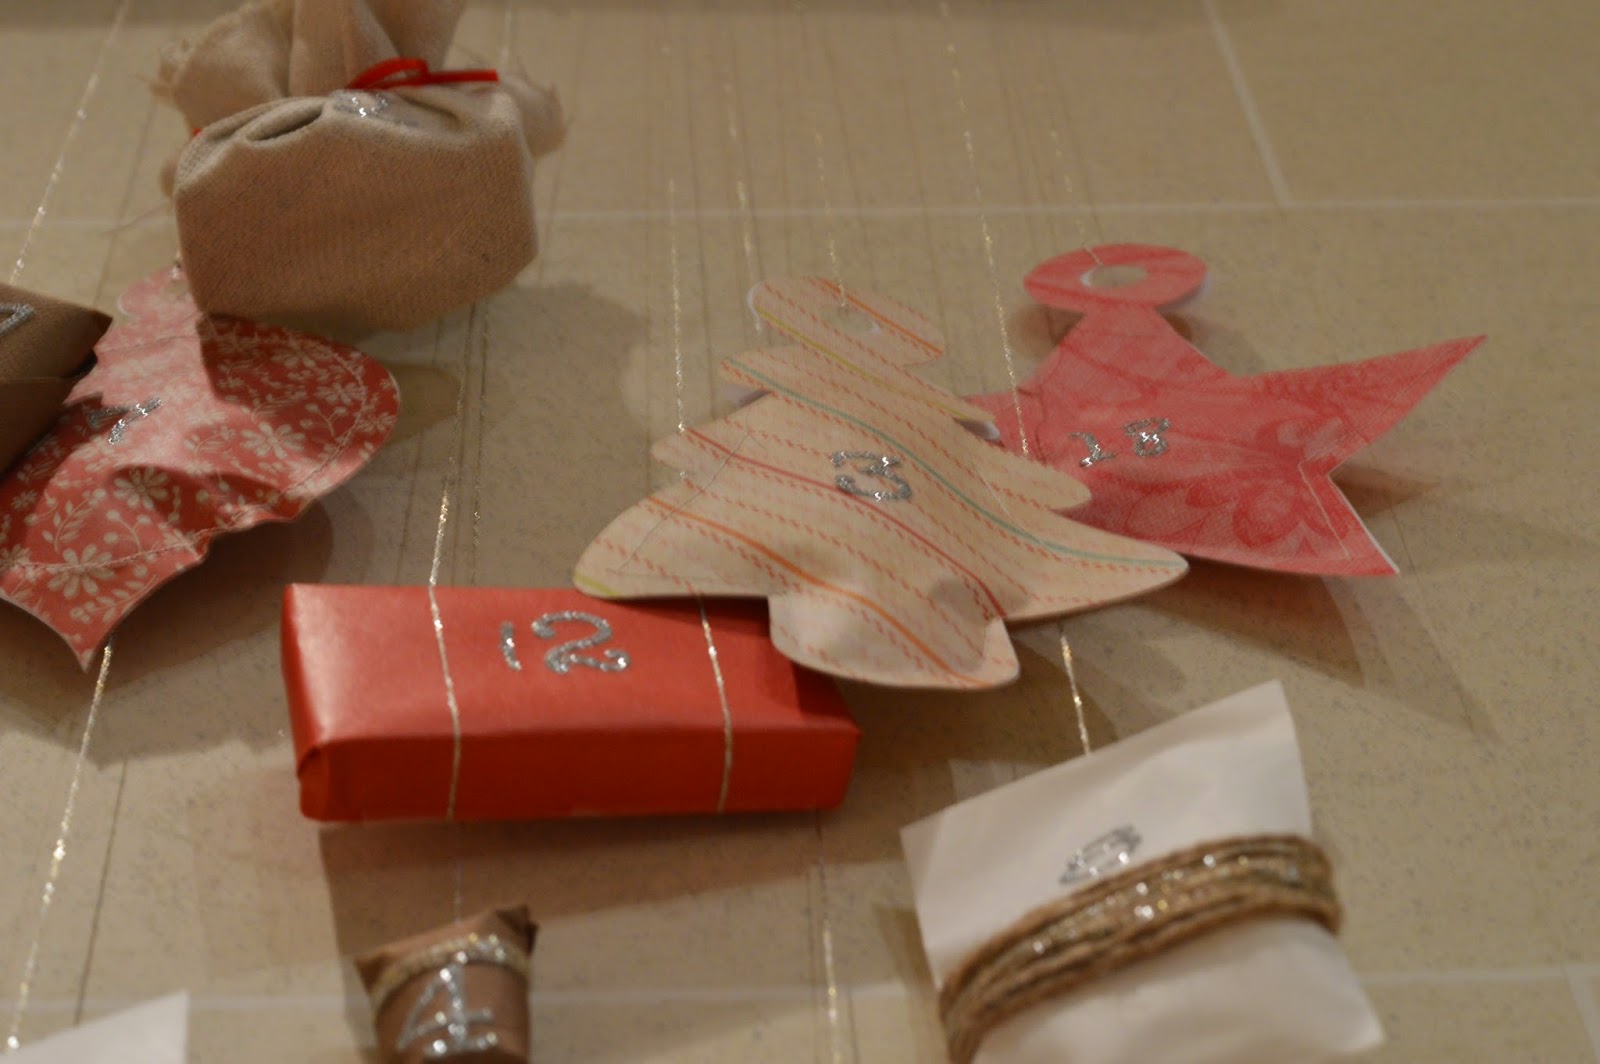
The first was an advent calendar for my son.  I loved the idea of using driftwood in my holiday decor this year because it is so easy to find around where we live, so this advent calendar was perfect!


My son had so much fun opening his little presents every day before Christmas.

Another holiday decor project that I took on was this beauty!

I used old fence boards that I found beside our house and simply nailed them onto two pieces of wood.  I used chalk to mark out the corner points for the tree and screwed in dark screws at these points.  Then I traced the shape with a roll of red satin ribbon and tied it in a bow at the top!  I love the contrast between the pretty ribbon and the rustic look of the fence boards.

I used some more driftwood to hang these paper ornaments that I found at IKEA, which has a pretty mobile look to it.


In the fall on one of our nature walks down by the water, I found these two log-shaped pieces of driftwood that I had originally planned to use as center pieces on our dining room table.  I took them home and dried them out in the sun for days, and then one day I picked one up and all of these tiny little worms were underneath of it!  That is exactly when I decided that unfortunately, these two pieces of wood were NOT entering my house...especially the table that we eat on!  So, I drilled holes for candles as I had planned, but leave them outside for some outdoor holiday ambiance.


I had a few kiddos that I wanted to get Christmas gifts for this year and I decided to make them each something that they could use all season long and for seasons to come.  They each got a cozy, cuddly holiday pillowcase!  Since I am a complete novice when it comes to sewing, I found a tutorial on-line that I followed to help me make these.
I hope the little ones enjoy these!


I wish you and your family a holiday season filled with love, laughter and tons of snuggles.
Jackie
xoxo

Tuesday, October 14, 2014

Nautical Second Birthday Party

Our little boy turned two recently and I had so much fun planning his birthday party!  He loves going to the water by our house and watching the boats, so I decided to go with a nautical theme.  I took a little bit of a risk and planned his party in a park near our home and right next to the water.  I felt like this was the perfect venue for his party because it fit with the theme perfectly, but also because he loves being outside and this way clean up would be way easier for me!  We lucked out and the day was absolutely perfect!    


I made these cute little sail boats with my Silhouette and the nautical plates were party favors that the kids could take with them.  I also ordered some sailor hats online for the kids, but they were kind of a bust.  None of the kids were really into them.  Bummer because they were really cute!


Lunch consisted of a variety of cold cuts and bread, so that people could make their own gourmet sandwiches or the kids could snack on whatever they liked.  There were also mini homemade chocolate chip cookies and each kid was given a bag of these at the end of the party.  I decided against making a birthday cake or cupcakes, since my son really doesn't like cake.  He loves chocolate and cookies.  So, in addition to the cookies I cut out little whale brownies.  They were super cute and easy!


Even though the party was outside and running around a park is probably sufficient to keep two year olds happy...I wanted to be sure that they had a couple of activities to keep them busy.  I made a bean bag toss out of a box and the bean bags I made out of some scrap indoor/outdoor fabric and filled them with split peas.  I also bought a bowling set.  Both of these were a hit with the kids!


Happy birthday little man!


Monday, October 13, 2014

So much to be thankful for...

Happy Thanksgiving everyone!


I love this time of the year.  The colors of orange, yellow, brown, gold and red surround us.  Candlelight, the smell of leather, spices, comfy sweaters and cozy blankets...these are all my favorite things.  The weather is perfect, the food is delicious...I can't get enough pumpkin!  The grocery store that I shop at currently stocks pumpkin everything!  They even have pumpkin croutons...they're amazing.  My goal is to try everything on their pumpkin list.


We are taking full advantage of fall this year, as it may very well be our last fall here.  So, aside from producing all sorts of mouthwatering smells from the kitchen, we've also stocked up on a bunch of pumpkins to decorate our home.


My son and I created our very own "Thankful Tree" yesterday as well.  We collected a bunch of crazy driftwood branches by the water yesterday morning and although it was a little bit difficult explaining the concept of what it means to be thankful to a two year old, we managed to create a good list of things that we are thankful for.


I wish everyone a wonderful fall and hope that you are able to spend it with the ones that you love most.

~Jackie

Wednesday, September 17, 2014

Train Table Top - DIY


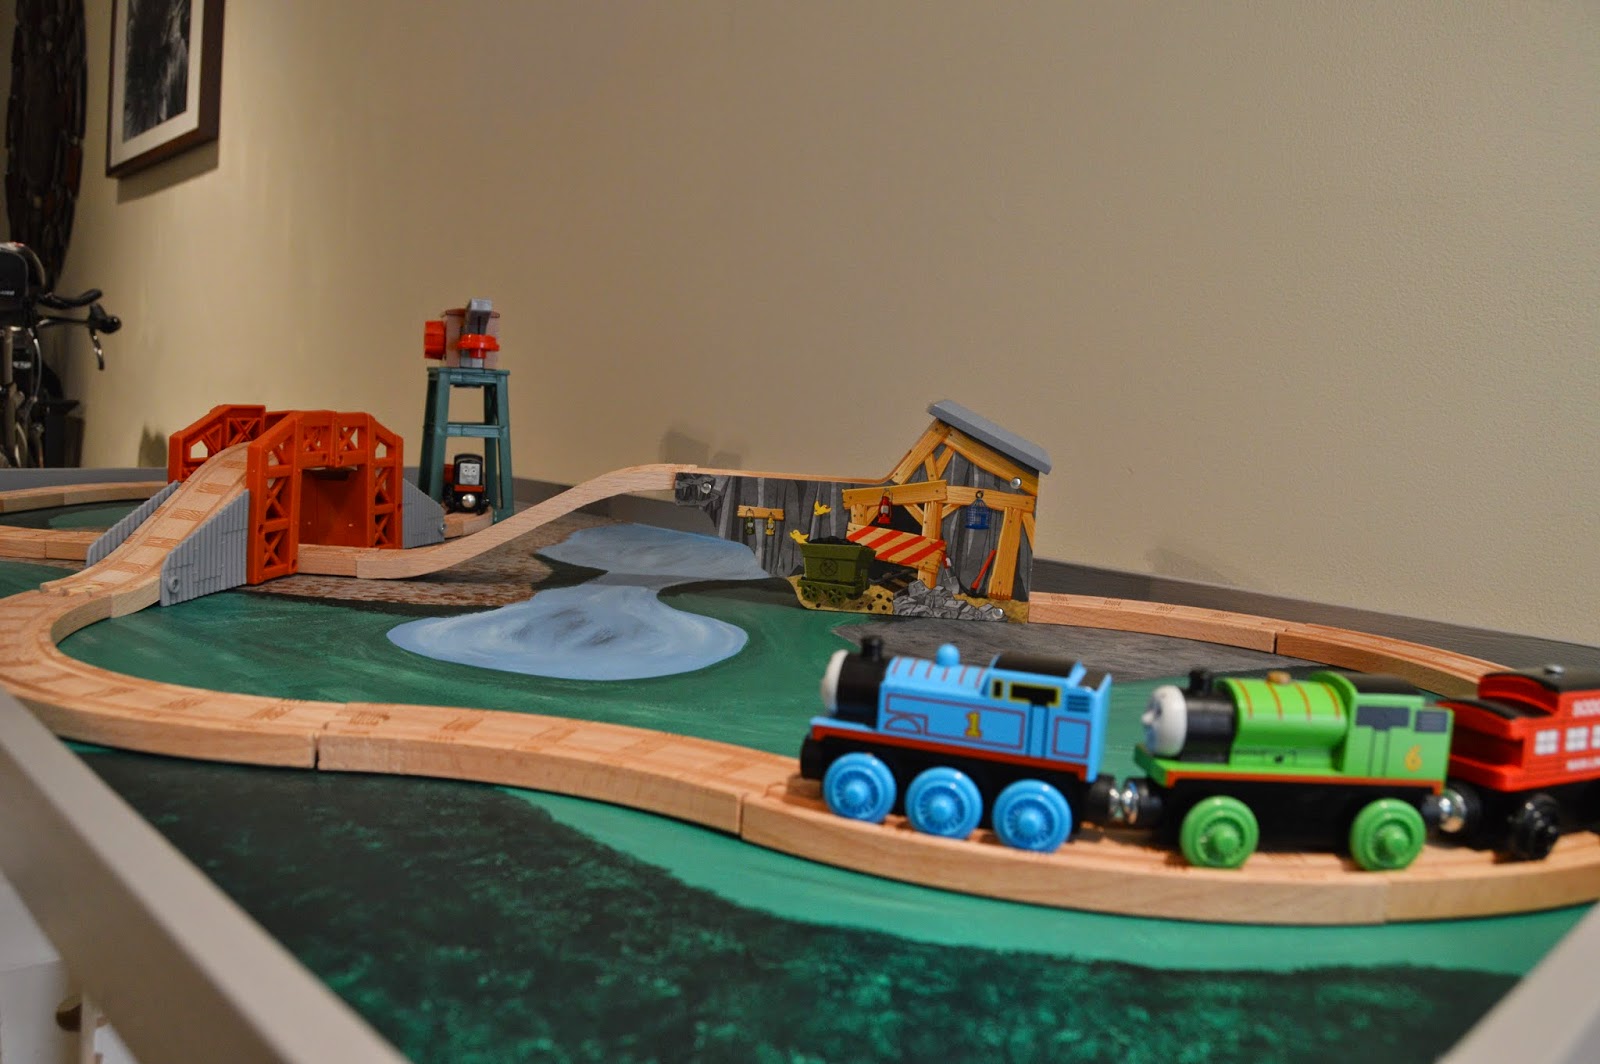
My little boy's birthday is coming up and after watching him play with the trains in the toy stores and realizing his fascination with trains, I decided to build him a train table.  I figured since I already built him a table and I don't have space for multiple tables hanging around our house, I could just build another top that can sit on the existing table, or on the floor, or I can tuck it under a bed or the couch for easy storage.

I started with the exact same 4' x 2' piece of birch that I used for his craft table and bought four 1" trim pieces that were each 4 feet long.  I cut the pieces to size and attached the trim with finishing nails and then sanded the whole thing.  I gave it one coat of primer and then painted the edges grey and used a mixture of acrylic paint and sample paints that I had kicking around to paint the "scenery".


I also bought a piece of felt from the fabric store, cut it to the size of the board and hot glued it to the underside of the train table top.  This will prevent the table top from scratching...anything!

I have to admit, I was SO excited to give this to my little boy...we ended up giving it to him a week early!  He loves it!  He was so serious when he saw it for the first time, but he immediately went up to the table and started playing with the trains.  He stayed there for the entire morning!  I love watching him play and this table allows him to use his big imagination that is blossoming beautifully!  I recently started seeing animals in the grass next to the trains...it just kind of makes my heart smile.

Enjoy!

~Jackie