So how bad is it, really...? I used to read this magazine, back when I still had time to read magazines...and they had a section that rated how bad different things were. I LOVED reading that section. They looked at common things that many people may or may not already do and give you the facts on it and the verdict on whether it is "not that bad" or "really bad" or "kind of bad".
I feel like this question enters my mind about one hundred times a day. Being a mom of an infant and a little boy, I am constantly performing risk assessments in my head. The funny (or not funny) part is the verdict. Obviously my risk assessment calculations are purely subjective and many times performed under times of heavy stress, excessive tiredness and desperation, which very much skews my analysis and the level of risk that I assign. But really, how bad is it to eat your lunch on top of your nursing baby? What if your lunch is soup? Or my personal favorite...what if you are enjoying a nice cold brew (after 9+ months of depriving yourself such privilege), while your baby happily chugs her milk below? How bad is it, really???
How about this scenario, which happens all too often for any mother of little ones. What if you're out and your baby drops their toy on the ground? What if they drop it on the ground in the parking lot? In the bathroom? Now, what if the toy that they drop is a teether? A spoon that you are about to use to feed them with? Their pacifier? Really, how bad is it to give it back to them?
Like I said, this phrase enters my mind so many times every day. And based on my field research analysis of other moms...I think the more kids that you have and the less sleep that you get, the less bad things really are. Funny how that works. :)
Happy Friday everyone!
*Disclosure: the actions above were either shared with me by other Super Moms or were my own personal experiences. No children were harmed following the assessed risk. ;)
~Jackie
Friday, April 15, 2016

Sunday, March 6, 2016
You Know You're a Mother to Children 3 and Under When...
Being a mother is great. It's rewarding, super fun, and super exhausting. I remember before I became a mother and I used to read lists like these and chuckle, but I never really got it. These are a few things that make up my every day.
You know you're a mother to children 3 and under when...
1. You run the water in the bathroom for longer than you actually need to, just to get a few more precious seconds of "quiet" to yourself.
2. Having a bright red potty sitting in the middle of your living room doesn't even phase you.
3. You find yourself regularly negotiating with a pint-sized mini me.
4. When you're trying to sing in the shower to keep your baby from crying, the only songs that you actually know the words to are kids tunes.
5. Once the kids are in bed, you don't flush the toilet, sneeze...you wouldn't even move if it was possible, just in case the noise will wake one of them.
6. Your meals often consist of random scraps of food that your kids didn't finish.
7. Your new home decor consists of lego pieces, play food and dinosaurs...very trendy.
8. Nap time = bliss.
9. You have moved ALL of the chocolate, cookies, any treats up to the highest possible shelf in the pantry because they WILL reach it somehow otherwise.
10. You've zombie walked out of your bedroom way too early in the morning, on more than one occasion, to your toddler eating a cake pop, cookie, chocolate, mint, candy, ...insert treat here..., which explains the necessity of #9.
11. Your new bedtime is 9:30pm...and even that is pushing it.
12. You find yourself setting your alarm at night hoping that you will actually get to hear it go off in the morning.
13. You have a remarkable ability to multi-task, especially if it has to do with keeping your baby asleep. You can talk on the phone, listen to music, put on your make up and eat lunch, all while continuously rocking your baby to a regular rhythm so that they stay asleep.
You know you're a mother to children 3 and under when...
1. You run the water in the bathroom for longer than you actually need to, just to get a few more precious seconds of "quiet" to yourself.
2. Having a bright red potty sitting in the middle of your living room doesn't even phase you.
3. You find yourself regularly negotiating with a pint-sized mini me.
4. When you're trying to sing in the shower to keep your baby from crying, the only songs that you actually know the words to are kids tunes.
5. Once the kids are in bed, you don't flush the toilet, sneeze...you wouldn't even move if it was possible, just in case the noise will wake one of them.
6. Your meals often consist of random scraps of food that your kids didn't finish.
7. Your new home decor consists of lego pieces, play food and dinosaurs...very trendy.
8. Nap time = bliss.
9. You have moved ALL of the chocolate, cookies, any treats up to the highest possible shelf in the pantry because they WILL reach it somehow otherwise.
10. You've zombie walked out of your bedroom way too early in the morning, on more than one occasion, to your toddler eating a cake pop, cookie, chocolate, mint, candy, ...insert treat here..., which explains the necessity of #9.
11. Your new bedtime is 9:30pm...and even that is pushing it.
12. You find yourself setting your alarm at night hoping that you will actually get to hear it go off in the morning.
13. You have a remarkable ability to multi-task, especially if it has to do with keeping your baby asleep. You can talk on the phone, listen to music, put on your make up and eat lunch, all while continuously rocking your baby to a regular rhythm so that they stay asleep.
Thursday, March 3, 2016
A new day...
Here I am, at my computer again. So often I write in my head and recently it has been happening more and more. I have decided it is time to take these words out of my head and put them somewhere. Here is a good place. I think it's a rather safe place...and I did create this blog for such a purpose. So, here goes! Get ready for plenty of random thoughts from an often sleep deprived, always on the go, Mommy.
I know. You're totally stoked.
~Jackie

I know. You're totally stoked.
~Jackie

Thursday, November 12, 2015
Butterflies, Butterflies, Butterflies...
I wanted to share a few of the things I made to make this little lady's room special and full of love!
I started with her mobile and cut out so many butterfly's. Making this was pretty tedious, but it was worth it! The way these butterflies flutter when you lay underneath them...it's perfect.


My next project was sewing a strip of this beautiful fabric onto a single curtain panel. I couldn't resist the fabric, and when I bought it I had no idea what I was going to do with it. (This happens a lot with me!) Now I get to look at it every day! So pretty. So many snuggles happen in this cute, cozy corner!
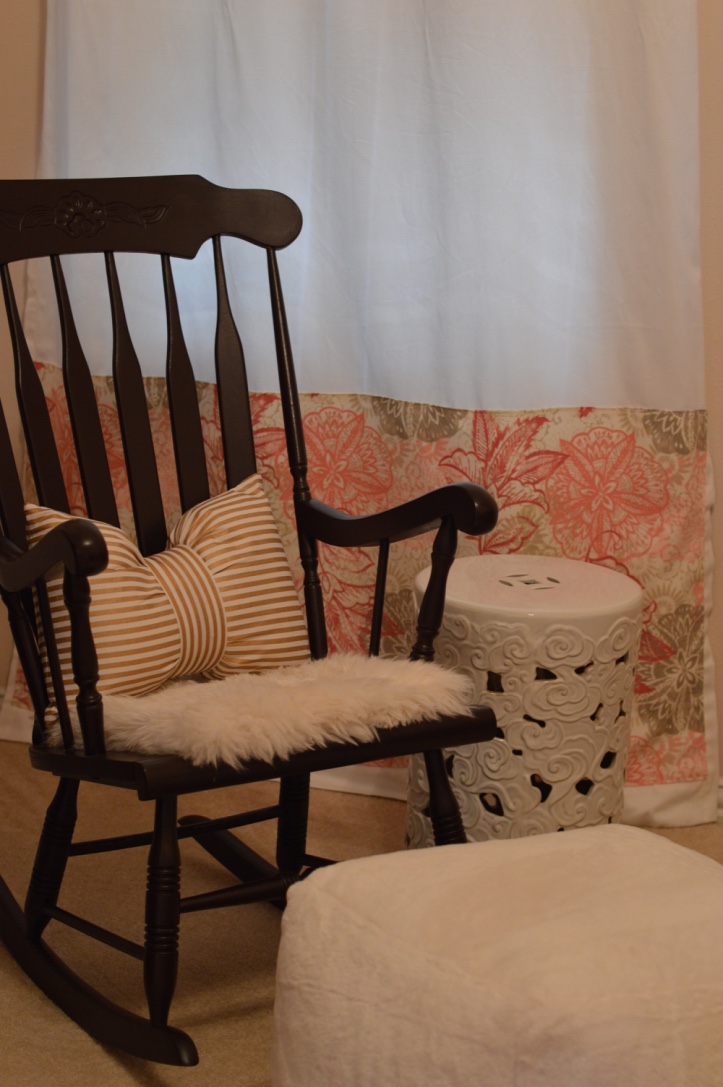
 One can never have enough butterflies... I cut these out too and put them on her wall.


Such a special baby girl...I can't wait for more pretty projects to come!

Saturday, August 15, 2015
A Reflection on Life and Love...
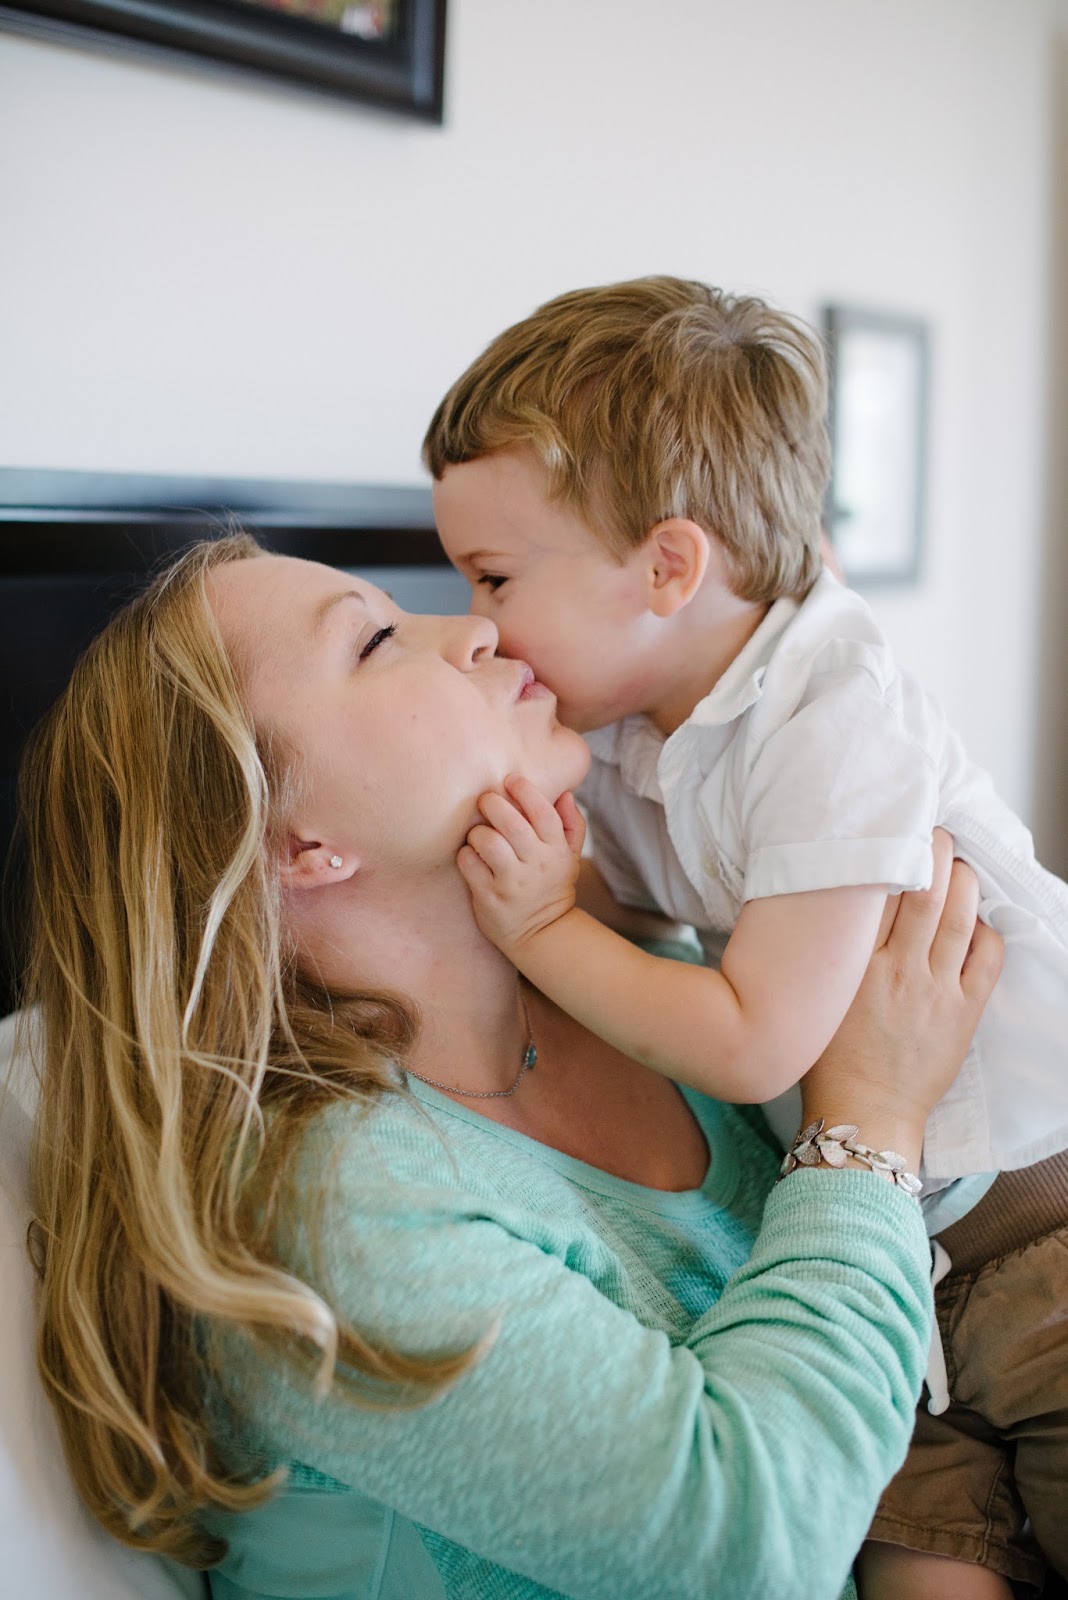
So, life has been challenging, but it has also been great. The best part of this blog for me is that I am able to reflect on everything and it helps me really put things into perspective. For instance, being 38 weeks pregnant isn't exactly the most fun I've had and I was feeling that today in a big way. But sitting here in front of this keyboard I realize just how blessed I am. I have a family who I love with my whole heart. We have so much fun and share so much love for each other. We have experienced a lot and have had many adventures already, all of which make us stronger both as individuals, but also as a family.
Recently, we had a family photo shoot and I think Jenny, our photographer did a great job of capturing the love in our family and our anticipation of the newest member of our family. I will cherish these memories forever.
xoxo
Jackie


Friday, January 16, 2015
Key Lime Pie Smoothie
We drink a lot of smoothies in our home. Since we invested in the Vitamix blender, smoothies have been a great way to incorporate a lot of fresh fruits and veggies into our diets. It is also a perfect snack for a toddler! I will admit, I don't usually follow recipes to make my smoothies. I just throw a little bit of this and a little bit of that in the blender and it usually turns out pretty great. There are some "rules", however with smoothie making that one might wish to follow.
-If you put spinach in your smoothies, as I very often do, adding strawberries to your fruit and spinach combo usually results in a brownish colored smoothie. The taste could be great, but sometimes I have a hard time swallowing a brown smoothie. But maybe you have an opaque smoothie cup with a lid...then I suppose there's no issue!
-Think of a flavor profile when making a smoothie. It's just like cooking. If you want a citrus flavored smoothie, stick to citrus fruits. A berry smoothie, maybe don't add too much citrus to it. Etc. My husband likes to literally throw anything and everything in the blender and press go...it doesn't always turn out to be the most appetizing experience!
-Don't blend beets into your smoothies. I'm sure it works for some and people definitely do it. But we added a cooked, peeled beet to a smoothie once (granted, it was one of my husband's everything but the kitchen sink smoothie)...the texture was so gross I don't know if I will ever forget it!
Today I made a mid morning smoothie for me and my son and it turned out so delicious I just had to share the "recipe". I can't wait to make this smoothie in the summer time because it was just so refreshing!
Key Lime pie Smoothie
1 Banana
1 Orange, peeled
1/2 cup Frozen Pineapple
1/4 cup Spinach
2 wedges of Lime (one with the peel on and one I cut the peel off)
1/4 cup Vanilla Yogurt
A splash of milk (probably around 1/3 cup)
Ice
Blend and Enjoy!
Makes 2 smoothies


-If you put spinach in your smoothies, as I very often do, adding strawberries to your fruit and spinach combo usually results in a brownish colored smoothie. The taste could be great, but sometimes I have a hard time swallowing a brown smoothie. But maybe you have an opaque smoothie cup with a lid...then I suppose there's no issue!
-Think of a flavor profile when making a smoothie. It's just like cooking. If you want a citrus flavored smoothie, stick to citrus fruits. A berry smoothie, maybe don't add too much citrus to it. Etc. My husband likes to literally throw anything and everything in the blender and press go...it doesn't always turn out to be the most appetizing experience!
-Don't blend beets into your smoothies. I'm sure it works for some and people definitely do it. But we added a cooked, peeled beet to a smoothie once (granted, it was one of my husband's everything but the kitchen sink smoothie)...the texture was so gross I don't know if I will ever forget it!
Today I made a mid morning smoothie for me and my son and it turned out so delicious I just had to share the "recipe". I can't wait to make this smoothie in the summer time because it was just so refreshing!
Key Lime pie Smoothie
1 Banana
1 Orange, peeled
1/2 cup Frozen Pineapple
1/4 cup Spinach
2 wedges of Lime (one with the peel on and one I cut the peel off)
1/4 cup Vanilla Yogurt
A splash of milk (probably around 1/3 cup)
Ice
Blend and Enjoy!
Makes 2 smoothies
This smoothie was so yummy I drank most of it before I realized I should take a picture!
My son insisted that I take a picture of his cup too. ;)
Monday, January 5, 2015
Handmade Play Kitchen

Here it is! The project that I have been working on for SO LONG! It was my son's Christmas gift and I wanted to get a jump start on it, so I think I began this journey in August. No joke. Yes, it took me that long to build this thing. To be fair, I do most of my projects when my son is in bed and his naps became way to short and not conducive to getting pretty much anything done. Another reason that it took me so long to build this was because I started on one path and diverged onto another path part way in. Let me explain...
I started with the idea that I would transform an old cabinet into a play kitchen. So, I bought this cabinet for $2 at the hardware thrift shop that I like to explore.
I build a base for the cabinet to sit on, to mimic a little kick plate, but also so that the cabinet was raised off the floor a bit, so the doors could open easier, etc. Then I realized the cabinet is too high, so I figured I would just slice it down a little with my jig saw...what. was. I. thinking?! Don't do that. Ever. It didn't work. It didn't matter how careful I was, I didn't cut it straight and then putting a countertop on the top wouldn't work, etc, etc, etc. One positive that came out of this disaster, was that I realized the cabinet that I bought was kind of cheap. It was wobbly and made of some kind of particle board and the back panel was chipping...so, I scrapped that idea altogether and decided to make the entire thing from scratch! (Cue Superhero music). I figured it would be a lot more sturdy, last a lot longer and the overall quality would just be better. Plus, I would learn so much by doing it all myself. Yep. So much.
Lesson #1: The hardware that comes in the package with hinges and handles are basically made of plastic. Don't use them. Buy your own screws.
Lesson #2: Hinges suck. They are harder than you think. Plus, installing hinges by yourself is very difficult...especially with "plastic" screws.
Lesson #3: Don't pre cut all of your wood. Cut as you go along. Because you could, for some unexpected reason cut something, like, say the countertop, too small. And then you will have to work some pretty creative magic to fix that.
Lesson #4: Glossy paint dries rubbery and will knick very easily. Not a good idea for a play kitchen!
Lesson #5: Consider buying a play kitchen...


I didn't take step-by-step photos and cannot really explain how this bad boy came together. But the important part is that it did. And I think it is pretty great. Most importantly though, my son thinks this kitchen is awesome and has been playing with it non-stop since he got it!


Some project notes:
The cabinet door and oven door were old cabinet doors made of cherry hardwood.
The Countertop is also a piece of cherry wood that I scored at my hardware thrift store for $8.
I predominately used my Kreg Jig to drill pocket holes and put the kitchen together.
The faucet I found on ebay for $17. It was listed as a chrome bar faucet, but worked perfectly for this play kitchen!
I used an LED tap light for the oven...because an oven needs an oven light!
The oven rack is actually a drain rack that fits in the bottom of a sink. I bought this at Target.
The stove burners are cork coasters that I also found at Target. I simply painted them and glued them on with wood glue.

Subscribe to:
Posts (Atom)